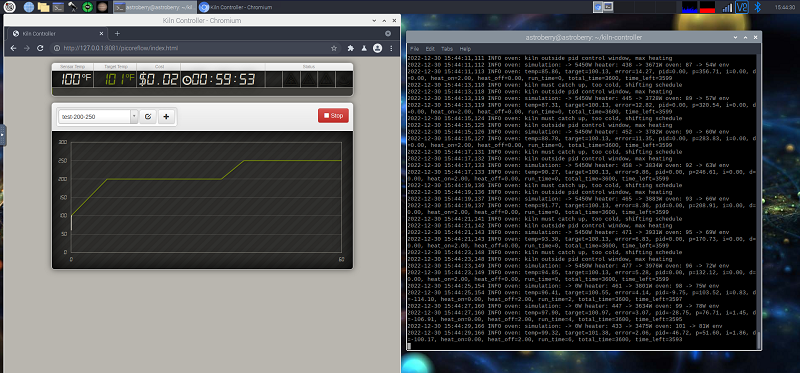
Well that was easy, the kiln-controller software installed on a base Astroberry Server image no problem at all, simulation working just fine. I like Astroberry because it has a very nicely working NoVNC install that lets you VNC into the RPi 3B+ from a web browser.
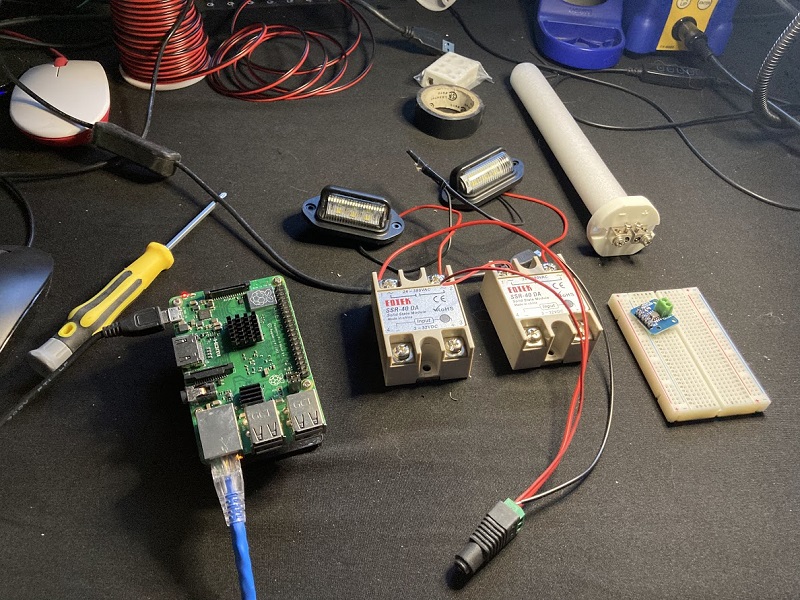
Got all the components together to assemble the control system, except one of the MAX31855 thermocouple breakout boards for the second “safety” thermocouple has gone missing. Considering this is a $15 board hopefully it hasn’t disappeared!
Here’s the basic schematic from the kiln-controller website. I’ll actually be driving two SSRs from the same output pin for the RPi so a transister to send a higher current to the SSRs is definitely required. The original author indicated that his SSR needed 25mA to trigger and his RPi only produced 16mA so required in any case. For testing the SSRs are only switching 12v to illuminate some lamps.

So far so good… unfortunately the SSRs are only 40A so I’ll need to replace them with 60A units but these will do for testing.
This is great. I’m trying to do the same, running two 3-phase SSR to control the 6 elements of my kiln. Did you have any luck with the current output to trigger the relay?
Haven’t gotten much done on this project at all, this summer while I’m on holidays I’m hoping to get everything up and running.