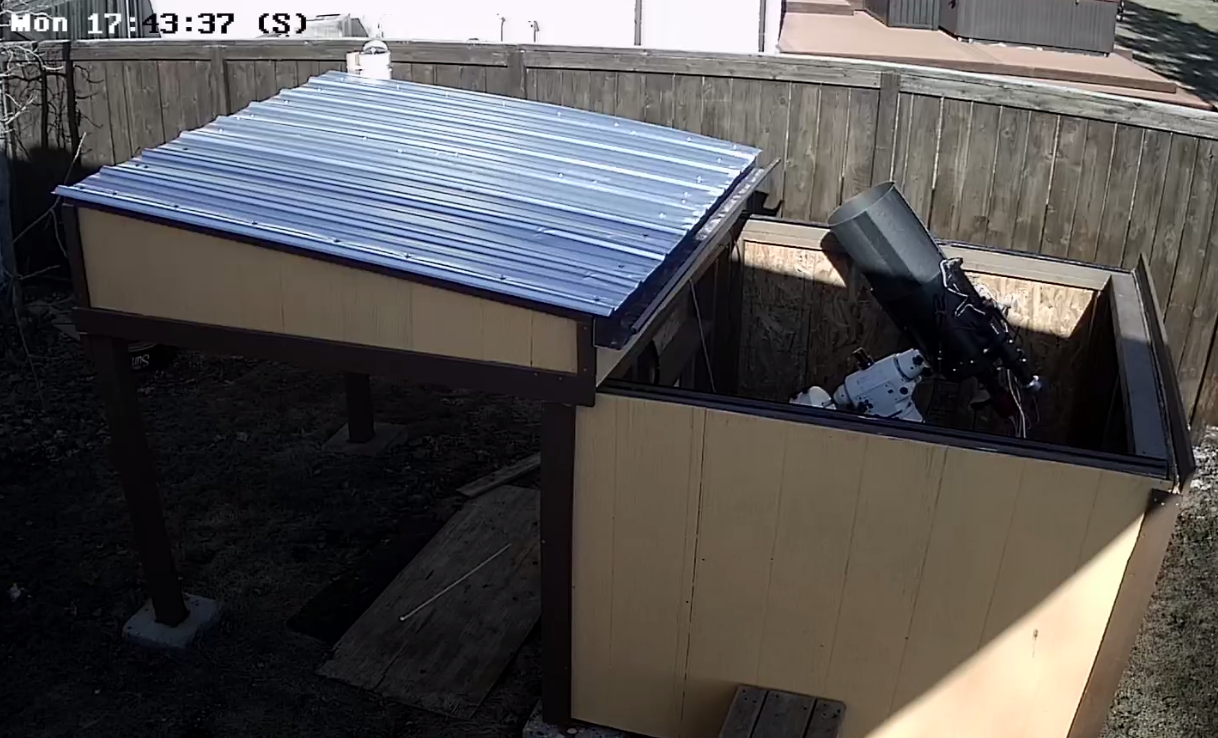
So the conclusion of my experimentation with the 10″ F/4.7 on the NEQ6 is too long, too heavy. So it’s off the mount, being replaced by my 8″ SCT with an F/6.2 reducer for galaxy season, then planets in the later Spring. In the meantime I can work on my 10″ over the summer solstice.
I would like to reduce the focal length of the 10″ as much as I feel capable of (not my first mirror, I’ve done 6″, 8″, and 9″ mirrors of moderate focal lengths) and reduce the tube length so it’s lighter and more easily fits in the observatory. I’d also like to increase the size of the secondary mirror and get a bit more backfocus so I can use a rotator, right now with a mono camera and filter wheel I’m pretty close to bottoming out when coming to focus. I am thinking I’d like to grind the mirror down and increase the curve to F/3.3 (I think this is as short as I can go without needing a Paracorr, I already have a GSO coma corrector that works well on my 16″ F/4.5) and cut the tube down to about 35″ from the current 50″ or so. I’d also like to replace the vixen dovetail with a CGE dovetail I already have, which just requires a new adapter puck on the NEQ6.
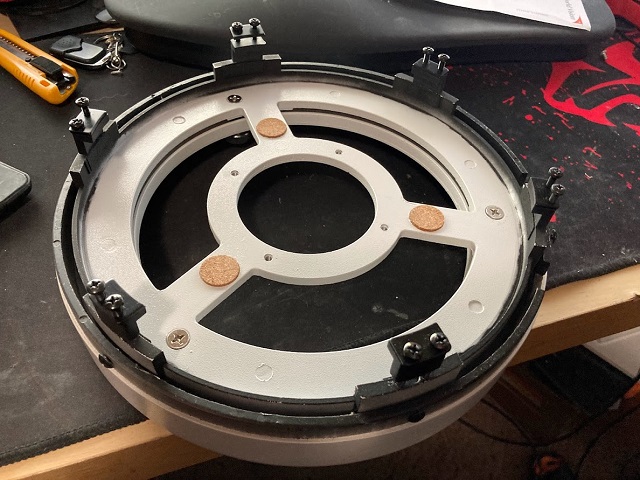
Pretty heavy! And looks like a 3 point support with some “reef-em-down-real-good” mirror clips. I’m pretty certain I’ll replace it but given the tube diameter is pretty small at 11″ (and I do want to reuse the tube) options might be limited. I’ll probably end up just reinstalling the new mirror on the Skywatcher cell and do some testing on how the mirror works in that cell.
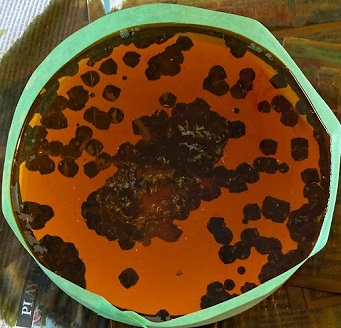
I stripped the aluminum coating from the mirror this weekend with FeCl. Took a full 24 hours but this Ferric Chloride (FeCl) commonly used to etch printed circuit boards. The fluid I used has been reused a few times so it might not be working at 100%. Interestingly it seemed to attack the coating via pinholes in the surface, , probably because of an overcoating on the mirror, which eventually joined up and left the clean surface except for one stubborn spot that took another application to clear. Fresh solution zapped it inside an hour. Always use latex gloves with FeCl it’s messy stuff! Almost like an oil, rub all you want the blank is going to have an orange coating til washed off with fresh water.
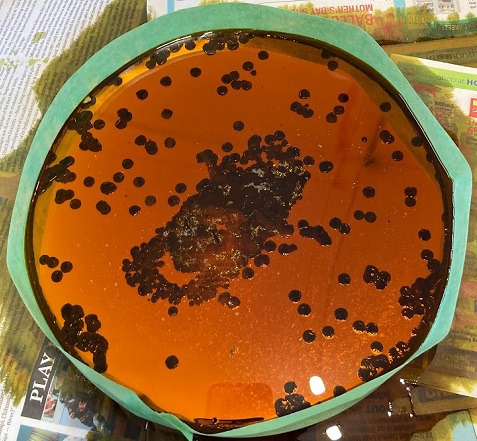

On the third image note the largish bubble in the substrate at about 2 o’clock midway to the edge. There are a few but they are midway through the disk so they won’t surface taking the blank down to F/3.3.
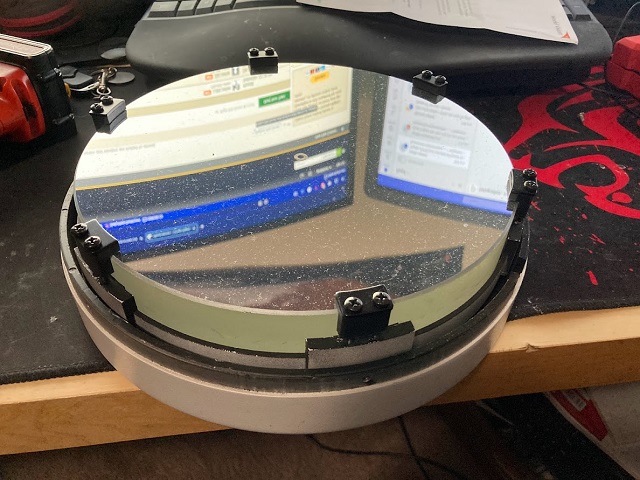
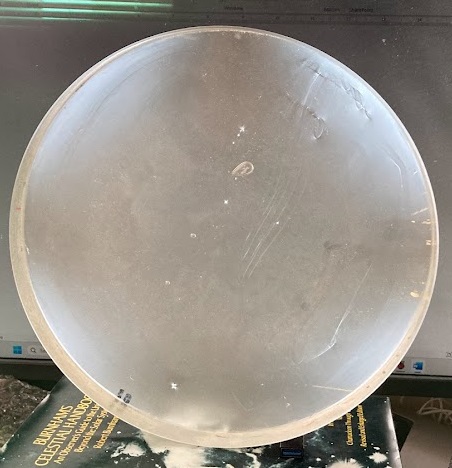
Why remove the coating with chemical when the grinding process will remove it in microseconds? I took a few minutes to strain test the mirror. Normally I use a DSLR in front of my big screen TV but with the smallish mirror I just took the polarizer off of my DSLR lens, put the mirror in front of a computer monitor showing a white Word document, and rotated the polarizer til the screen was as dark as possible, and snapped a photo with my phone. This picture was the result. Essentially the light from a TV or monitor is polarized (this is how they do color) so if you put a piece of glass in front of a TV and a polarizing lens in front of your eye or camera, the internal stresses in a piece of glass will show up as dark and light areas. Glass with lots of stresses in it will not hold a good figure and change figure as the temperature changes, making it useless as a mirror. I put the image of my 24″ mirror blank next to the 10″ for comparison – the 24″ blank needs to be put in an oven, brought up to a high heat, then slowly cooled down to relieve all the stresses in the mirror. A project thats on the queue but not for a while!
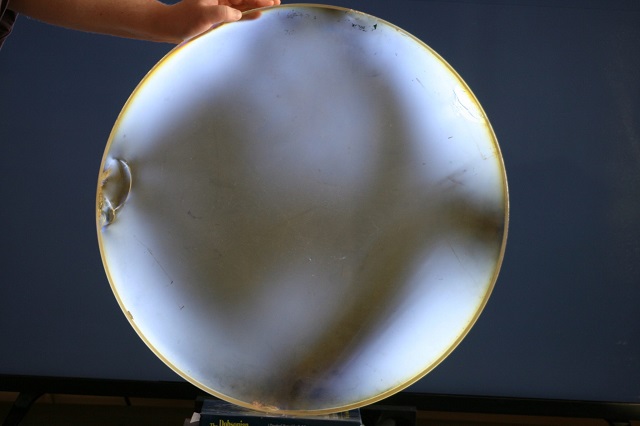
My interpretation of the 10″ image (based on Mike Lockwood’s article on testing mirror strain (here)) is this mirror is not completely without internal strain but it is minor. A similar image from Mike’s site indicated:
“Now let’s see what a little bit of strain looks like – note the lighter regions near the edges of the blank. Stress often shows up in glass as a four-sided symmetry, and the “gray” portion of the mirror looks vaguely square. As it gets worse, it looks more like the dreaded “cross” that some opticians speak of. Some inclusions within the glass again show up as bright spots, one of which has four-sided symmetry itself, though again none are large enough to be of concern. Again, faint arcs from the generating are visible, but not of concern. This blank made a very good telescope mirror.”
The blank has some stresses extending down from the right at 1 o’clock down to towards just right of centre as well as at 4 o’clock. Overall however these appear minor and shouldn’t impact whether the mirror can hold a figure.
I’m proceeding with grinding this blank to F/3.3. Wish me luck!